


UV Gel Wraps Application
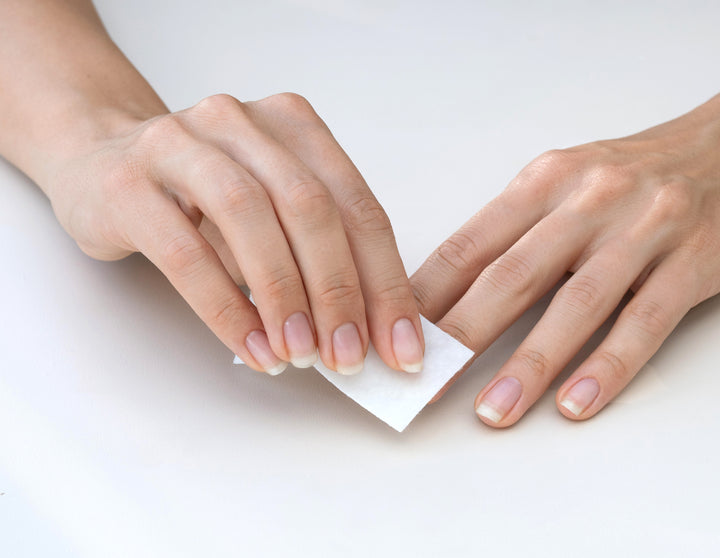
VOORBEREIDING & REINIGING
Clean your natural nails thoroughly with the Miss Sophie cleaning pad. Then carefully push back the cuticles with the enclosed wooden stick.
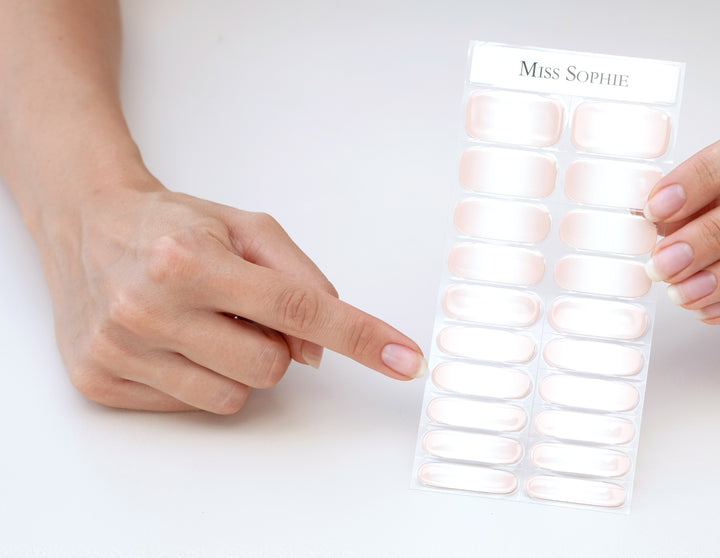
KIES ONTWERP & GROOTTE
Each UV gel nail foil set contains different sizes. Choose the right size of UV gel nail foils for your nail.
If you are unsure between two sizes, choose the smaller size or cut it to size.
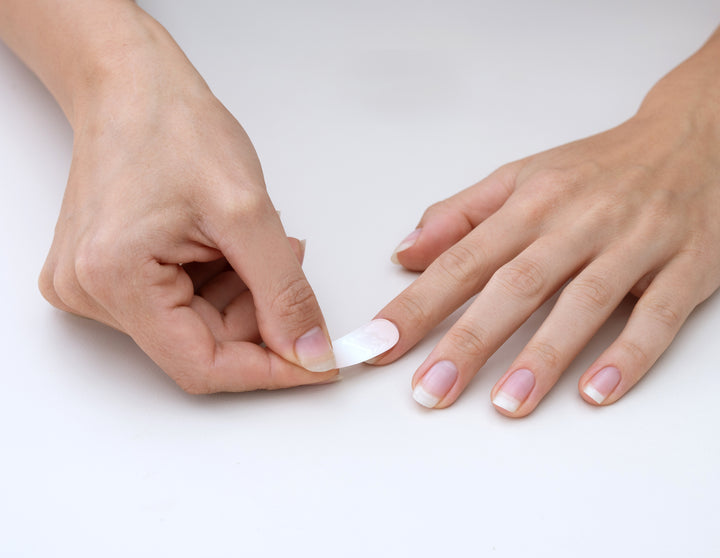
APPLYING
Remove the transparent protective foil and carefully detach the UV gel nail foil from the carrier foil. Stick the UV gel nail foil in the center of your nail and leave a small gap to the cuticle. Press the UV gel nail foil first in the center and then carefully at the edges.
KORTEN & BESTAND
Fold over the protruding part of the UV gel nail foil or cut it off under the tip of your nail. Carefully file off the protruding part with the nail file in one direction along the nail edge.
Press the UV gel nail foils firmly onto your nail at the edges.

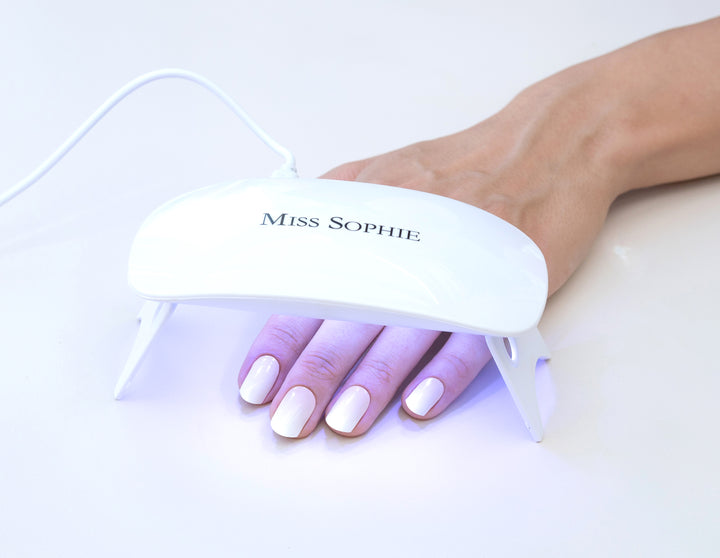
CURING
Connect the Miss Sophie UV LED lamp to a power source. Place your index, middle, ring and little finger centrally under the UV LED lamp and switch it on. Wait 1 minute. The UV LED lamp will automatically turn off after 1 minute.
Repeat the step for your thumb.
NAGEL WIKKELS VERWIJDEREN
Apply the Miss Sophie Care Pen oil to the edge of the UV Gel Nail Wrap. Before first use: pump up to 20 times for oil to flow from the tip. Use a wooden stick to lift the edge of the UV Gel Nail Wrap and for getting oil under the Nail Wrap.
Use the wooden stick to work your way from one side of the UV Gel Nail Wrap to the other, constantly applying oil under the UV Gel Nail Wrap with the Care Pen.
Note: Please note that the UV Gel Wraps cure prematurely due to sunlight and natural UV radiation, even in the shade. Therefore, it’s best to do your Miss Sophie manicure indoors and protect the UV Gel Wraps from passive sunlight. Store the UV Gel Wraps in a light-protected and well-packaged manner.